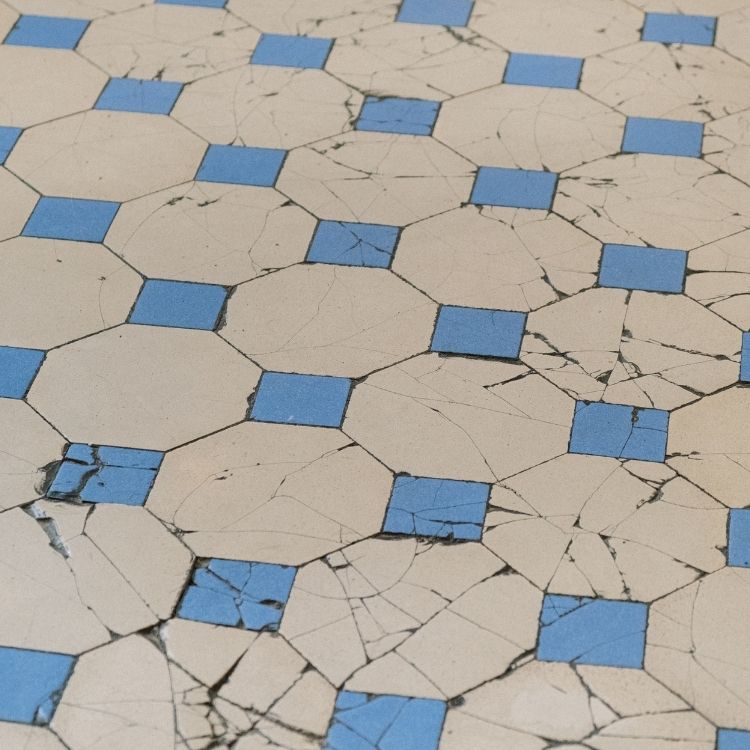
How To: Make Old Tiles Look Like New

Old tiles can spoil the look of any room. As tiles and grout age, grime, stains and mould build up over time. Wear and tear can also cause damage and fading glaze, removing their original polished sheen. But before you begin ripping them off the walls, there are certain things you can try first that are less expensive and tedious than retiling. From deep cleaning to repairing cracks, our below suggestions can help give your old tiles the refresh they’ve been looking for.
Deep cleaning
Kitchen Tiles
Your kitchen is usually the busiest room in the house. It is where people gather and where food is prepared and eaten. So over time your tile countertop, flooring or backsplash will accumulate dirt, grease and grime.
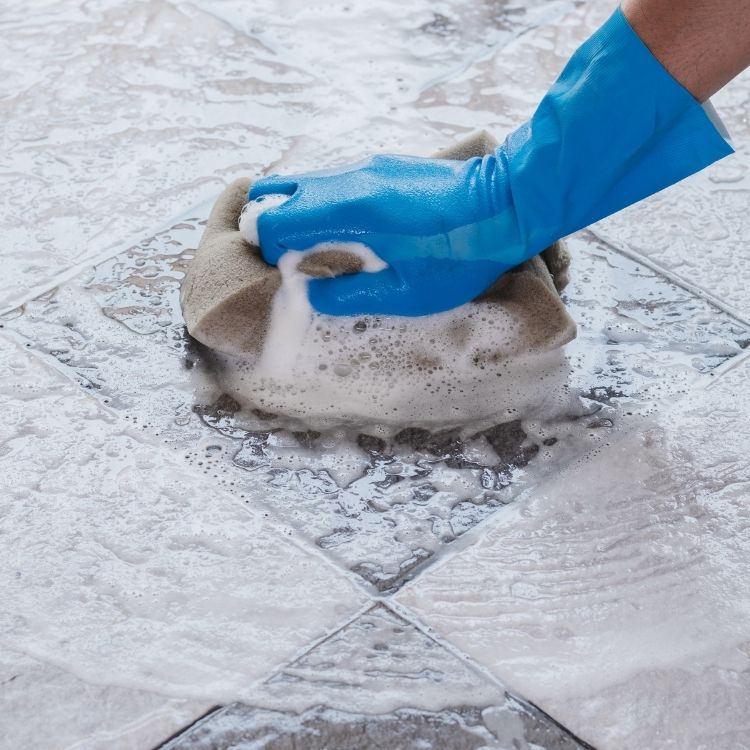
When deep cleaning your kitchen tiles, don’t use any abrasive cleaning agents or materials as this will damage the glazing. Instead, start by spraying them with a degreaser and wipe with a clean cloth. Next, take a brush or sponge and scrub them with washing up liquid mixed with warm water. Use a constant and gentle brushing motion, taking care not to press too hard on the tiles.
Finish by wiping the tiles with rubbing alcohol and a clean cloth to remove any remaining grease, dirt and residue and to leave your tiles gleaming.
Bathroom Tiles
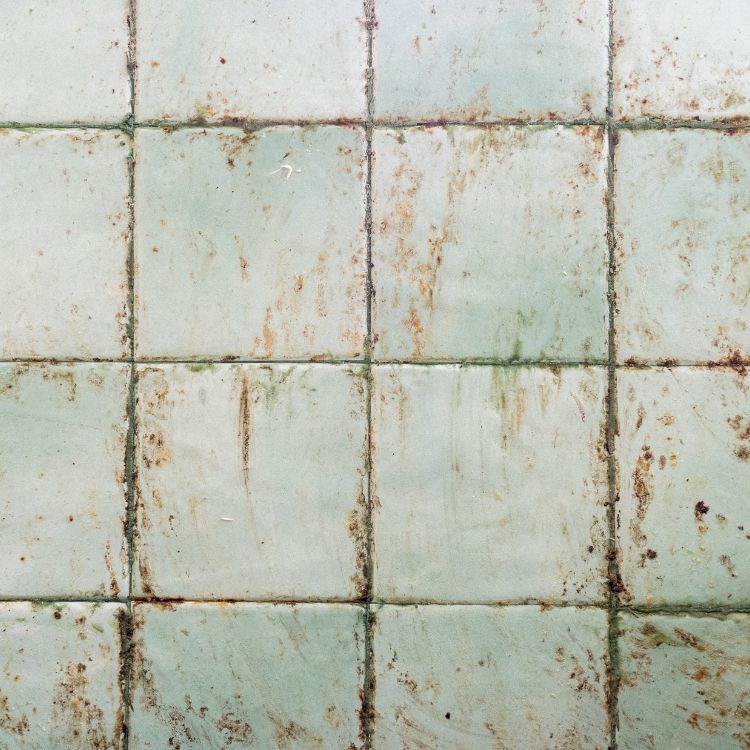
Mineral deposits, limescale and soap scum can build up on old bathroom tiles as time goes by. To deep clean them, begin by running hot water for a few minutes to encourage the pores of your tiles to open up; just like cleaning your face, exposing these pores will give you greater access to the dirt when cleaning.
Baking soda and vinegar is the most effective natural solution for cleaning stubborn grime on old bathroom tiles. Mix together to form a paste and apply to the tiles with a non-abrasive brush or sponge, using a gentle scrubbing motion. After the solution has been applied for some time, rinse the surface thoroughly with clean water.
You can also choose to use a commercial cleaner, but you should always read the label first to make sure it’s not too abrasive for cleaning tiles; you don’t want to risk damaging their surface.
Giving your grout a refresh
You may find after cleaning your tiles and restoring them to their sparkling glory, that it’s the grout making your tiling look old and grubby. As grout is porous and usually light-coloured, it is prone to staining, mould and mildew. The wear and tear that comes with daily life can also wear or damage your grout as the years go by, particularly in high traffic areas of the home. For these reasons, making your grout look like new again requires a little more care and attention than your tiles.
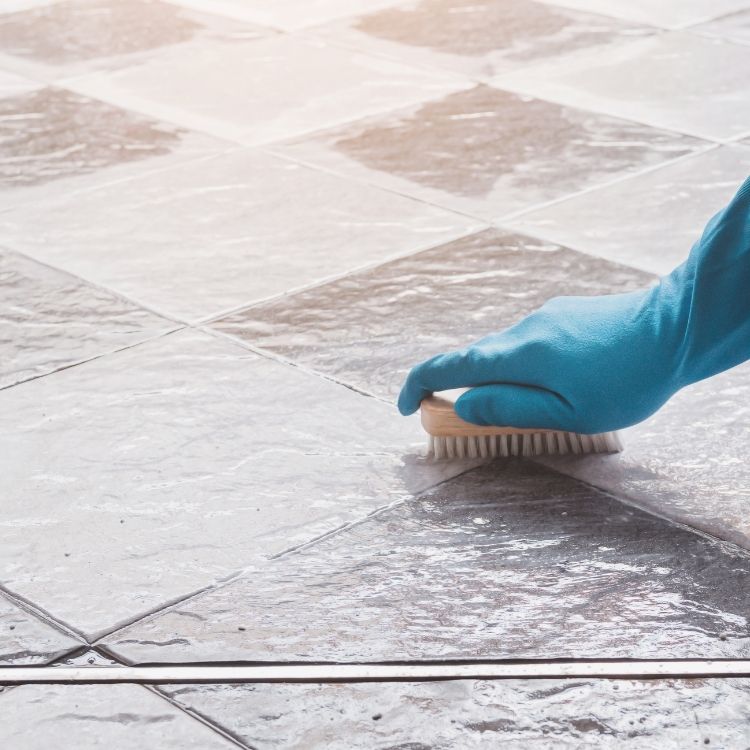
- If there are any mould or mildew stains on your grout, use an antifungal spray to eliminate them before deep cleaning.
- Like your bathroom tiles, deep clean your grout using baking soda mixed with vinegar or lemon juice. Scrub into the grout using a toothbrush, medium-bristle brush or a grout scrubber which you can pick up in a hardware store. For even deeper stains, you can try mixing table salt into the mix.
- If the above cleaning method doesn’t leave your grout looking like new, you can always use a grout pen. Grout pens are an easy and effective way of refreshing your tiling as they cover old grout and fill in any gaps between your tiles.
- If the grout is very damaged and beyond saving, you can always remove the old grout and redo. You can shop our range of grouts here. Use a grout removal blade to remove as much of the old grout as possible and a scraper to knock out any leftover pieces. Wipe over the tiles with a damp sponge to remove any dust and leave to dry. You can then apply your new grout to the tiles using a grout spreader. For in-depth advice on how to do this, we always recommend chatting to a professional tiler before you begin.
Repairing damaged tiles
Daily wear and tear (or objects accidentally falling onto floor tiles) can cause damage over time. If your old tiles have a scratches, chips, or hairline cracks, you don’t necessarily need to replace them. Minor damage is usually fixable, making your tiles look fighting fit again.
- One of the most common kinds of damage found on tiles is scratches. This may come as a surprise, but nail polish can be a quick fix for scratched tiles. Simply find a matching colour (or mix two colours together for the right shade) and simply paint it onto the scratch. As time goes by, the varnish may darken. If this happens, just apply some varnish remover and re-apply.
- Hairline cracks & chips are also common on old tiles. To fix these, you can fill them using epoxy. Choose one that is especially made for bonding stone and other porous materials together. 2-part epoxy (which you squeeze out and mix together to activate) is the best option.
- First, clean the area around the crack or chip with rubbing alcohol. Then, squeeze equal parts from each bottle of the 2-part epoxy and mix together on a piece of wood, cardboard, or flat surface lined with wax paper.
- Using a wooden lollipop stick or toothpick, carefully spread a thin layer of epoxy along the crack or onto the chip. As epoxy dries quickly, make sure you work fast and avoid getting it over the rest of the tile’s surface. However, ensure you’ve covered about 0.5cm on either side of the crack or chip.
- Wait about 5–10 minutes for the epoxy to completely dry. To check it, lightly tap with the tip of a finger; if it’s dry it will be firm to the touch and your finger will come away with no traces of epoxy stuck to it.
- If it’s a coloured tile, paint over the dried epoxy with a small brush, using a colour that closely matches the tile. You can also buy tints that are especially designed for epoxy.
Reglazing
Depending on how old your tiles are, your glazing can eventually wear off or become damaged. This causes your tile to appear aging and faded. Reglazing can restore these tiles to their original luster. This is less expensive and time consuming than retiling yet can be just as transformative. However, bear in mind that it can only be done on ceramic or porcelain tiles. Our step-by-step guide below will give you an insight into the reglazing process. But as always, we recommend consulting a professional before attempting this.
- First, remove all obstructions from your tiled area. Then, lightly sand tiles with sandpaper; this will help the glaze adhere. Take care not to sand the grout.
- Make sure the tiles are clean and dry before applying the glaze. You should also ventilate the room by opening all windows and turning a large box fan backward, placing it in one of the windows. Wear a P100 respirator too.
- Using a paint stirrer, mix the glaze in a clean container for about 1 minute. Use a varnish brush to apply to the edges of the tiled area as well as deep tile seams where a roller can’t reach.
- Next, pour the glaze into a paint tray and roll out the product over the tiles. Make you don’t let it pool into the tile seams. Apply a thin layer to avoid obvious roller marks – just enough to cover the tile. Let this first coat dry for one hour before applying the second coat.
If you need further advice on sprucing up your existing tiles, pop into one of our showrooms, where our amazing staff are on hand to assist you with any queries you may have. Alternatively, you can Contact Us from home or Request a Callback. Or if you’ve attempted some or all of the above and believe that your old tiles have just seen their day, you can shop for brand new ones here at Tileshack.