How to Tile a Kitchen Backsplash
A kitchen backsplash is great for protecting your wall from food and grease. It is also a style statement that can act as a feature wall or reinforce the colour scheme of the whole room. If you’ve never tiled before, your backsplash is a good way to gain practice and confidence. Some backsplashes are only the height of a single row of tiles, while many go all the way up to the bottom of kitchen cabinets or even the ceiling. They can be as low or as high as you like, allowing you to make your space your own. Not sure where to begin? Our guide will help to get you started.
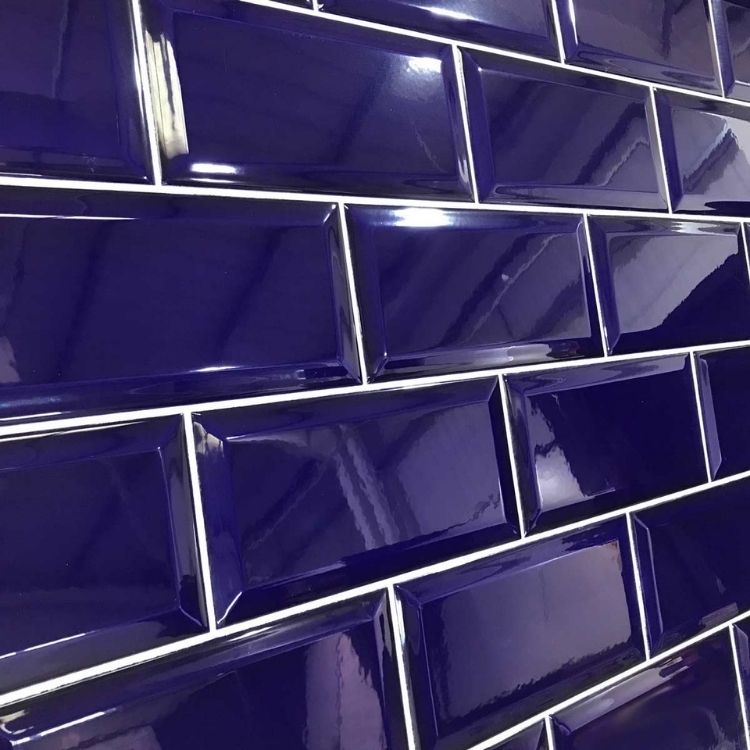
What tiles are best for a backsplash?
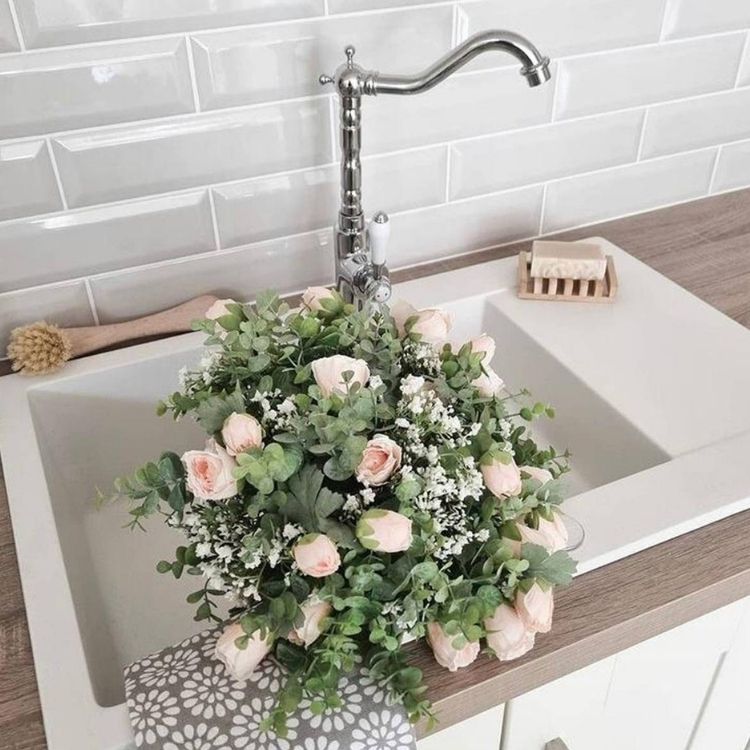
Simple yet stylish, the classic Metro Tile is one of the most popular tiles used for a backsplash. Not only are they affordable and easy to maintain, but their simple shape also means they are much easier to apply to the wall without mistakes. Our range of metro tiles come in a wide variety of colours. You can choose classic white, or a much bolder colour like green or ultra-modern black. Alternatively, Mosaic or Hexagon tiles are ideal for creating a statement backsplash as they create an eye-catching pattern on your wall.
First, prepare your surface
Before you begin tiling, it is important to check that your surface is clean and dry, level, and free from dust, damage, debris and protruding obstructions such as screws.
- If necessary, clean the wall area with soap and water and wait for the surface to dry before doing anything else
- Fill any holes or damage with filler
- Check the wall is even with a spirit level. Sand any lumps or marks if they’re large enough to make the surface uneven and vacuum the area afterwards.
Make sure you have enough tiles
Next, calculate the amount of tiles, adhesive and grout you need. Start by measuring the surface you are tiling, then calculate it in square meters. Use this to work out the number of tiles you need, then add an extra 10%. For example, if the area requires 10 tiles, add one extra tile (10%). This allows for any mistakes you might make along the way. To make this easier, use our handy Tile Calculator to help you. Once you know how many tiles you need, you can buy the correct amount of adhesive & grout.
Plan your tile layout
Before starting your tiling job, you’ll need to figure out how many tiles you need per row and where to place them on the wall.
1. Using a measuring tape, measure a central line where your backsplash will be. Work out and mark a pencil line where each tile will fall to give you a guide of where to lay each one.
2. If the area has a plug socket or switch on it, you’ll need to measure where this sits on the tiles before you start laying and make cuts to the tiles if needed using a tile cutter.
Tiling your backsplash
Before you begin, make sure you cover your surfaces with newspaper or plastic sheeting to protect it from adhesive or grout.
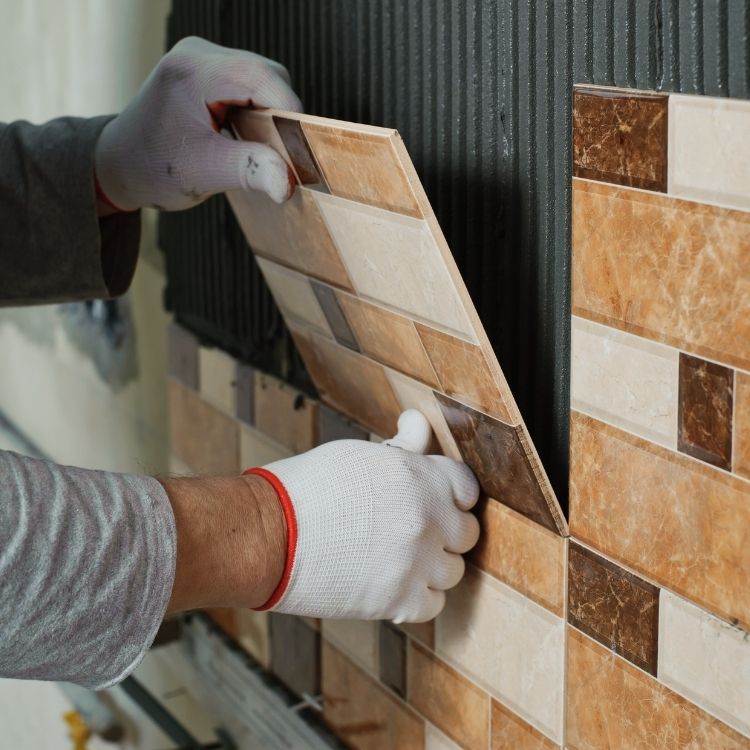
1. Starting at the bottom where the wall meets the countertop, take some tile adhesive with a trowel and apply a decent, even layer to the wall by pressing it into the surface - you only need to apply enough to stick on your first row of tiles as the adhesive will set quite quickly. Then, evenly spread the adhesive along the wall using a notched trowel, creating horizontal lines.
2. To adhere the tiles, start in the middle of the backsplash area. This ensures an even, symmetrical result as you work toward the sides. Press and twist the tiles firmly into the adhesive. Wipe off any excess adhesive from the tiles with a damp sponge as you go – if you let this dry, it will be very difficult to remove later.
3 . Place tile spacers into the corners between the tiles to achieve uniform size joints (the gaps between the tiles) and adjust the tile positions if needed. If you’re using mosaic sheets that are designed to fit together, you won’t need any spacers.
4 . When you reach the ends, you may find that there’s not enough space left for a full tile. Measure how much of the tile you need to cut off and mark the tile with a pencil. Use a tile cutter to score a line along the tile and apply light pressure to break it along the score.
5 . Repeat the above steps until you’ve covered the entire backsplash area. Wait 24-48 hours for the adhesive to fully dry and cure. After that, you’re all set to get grouting!
Grouting the backsplash
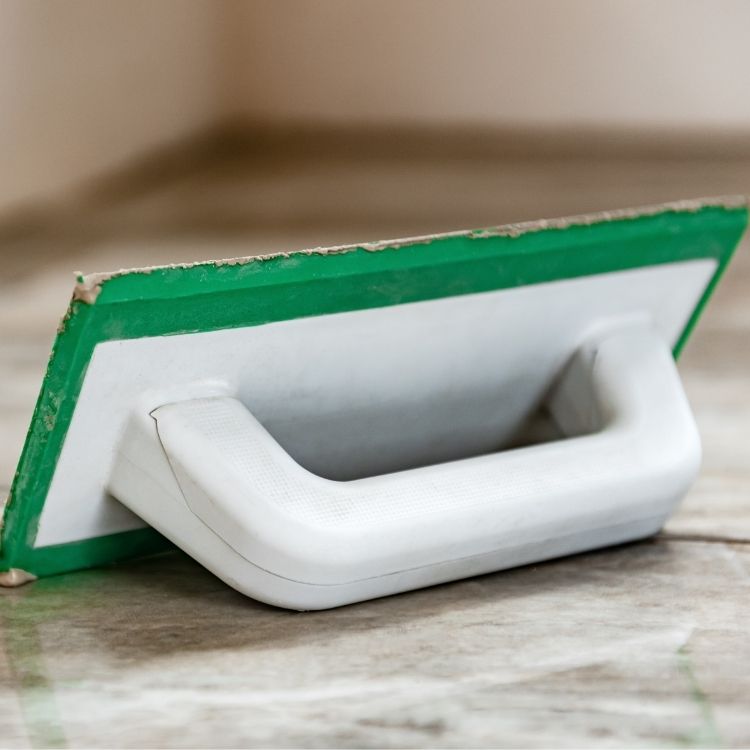
Firstly, remove any tile spacers and check that your tile joints are free from excess adhesive. Using a grout float, work the grout into the joints. Wait for the grout to partially set (about 20-30 minutes) and wipe any excess off the tiles with a sponge soaked in water. If you feel it's going to take longer than 30 minutes to grout all the tiles and before moving on to cleanup, you might want to work in smaller sections.
Sealing your tiles
Sealing your tiling is an important step for kitchen tiles. It prevents water from getting behind the tiles around worktops and sinks which can cause damage to your wall, fixtures and fittings.
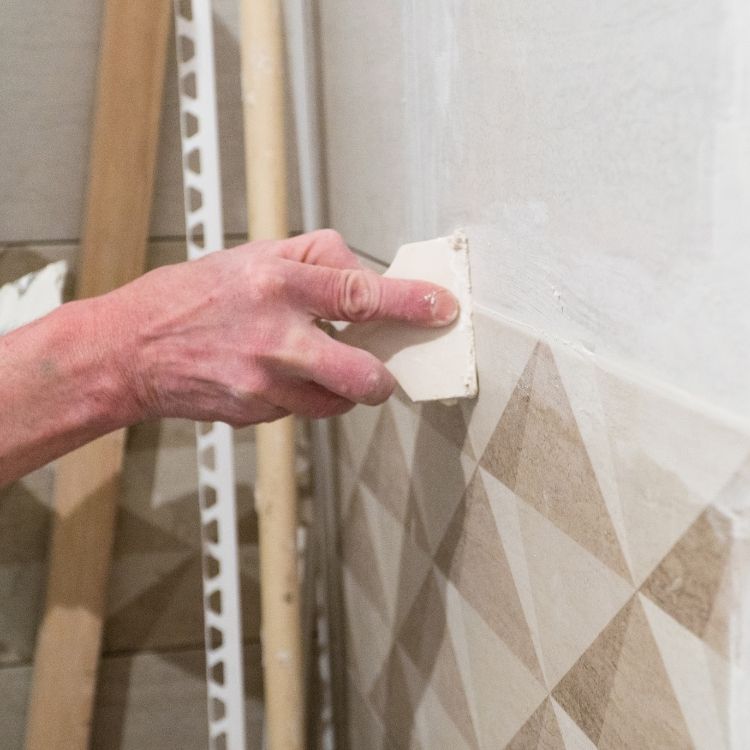
To apply, hold the tip of the sealant cartridge at a 45° angle and apply into the joints by squeezing and working from end to the other. Make sure to maintain an even, consistent amount of sealant. Using a sealant shaper or wet finger, smooth the edges and take off any excess. Creating a clean edge prevents your sealant from feathering, which lets water in. Leave to dry for 24 hours per 4mm of thickness.
Ready to get tiling? Check out our range of kitchen tiles and tiling accessories today. Or if you need further advice on tiling, you can pop into one of our 8 showrooms on the island of Ireland, where our amazing staff are on hand to assist you. You can also Request a Callback from our Customer Service team or book a Virtual Consultation with a showroom expert. We also recommend talking to a professional tiler before starting any work on your kitchen.