Can I put floor tiles on the wall?
Have you seen some floor tiles you love, but want to use them on the wall? Floor tiles are usually made from dense porcelain, so they are heavier than ceramic wall tiles. This means you must work out whether your chosen floor tile is light enough for use on the wall. It may seem like an obvious statement, but you don't want your tiles to start falling off! Our guide will show you how to determine if a floor tile is suitable for the wall, while providing you with some design ideas to help inspire your tiling project.
Are my tiles too heavy?
To work out if you can put a floor tile on the wall, you need to know two things:
-
The weight of your tile per m2
As a general rule, the thickness to weight ratio of porcelain floor tiles will be as follows:
8mm = 20kg/m2
9mm = 22kg/m2
10mm = 24kg/m2
11mm = 26kg/m2
12mm = 28kg/m2
You will also need to factor in an extra 2-4kg per m2 for grout and adhesive. For help calculating the total weight of your chosen tile, we recommend consulting a professional tiler.
-
The strength of the surface you are tiling on to
Different wall substrates can withstand different weights, so always check that the background you’re tiling onto can take the weight of your tiles, plus adhesive and grout. As a general rule of thumb, the maximum weight allowance for plaster is 20kg/m2 and 32kg/m2 for plasterboard.
If your chosen tile is too heavy for your substrate, or you have walls that are not straight, don’t fret - tile backerboard is an effective solution that can save the day! Backerboard increases the weight allowance for tiles, adhesive and grout (it can go up to 50-200kg/m2 depending on the type of backerboard you use). It also creates a straight surface for even tiling and will tank/waterproof the area as a bonus. For help choosing the right backerboard for your tiling job, have a chat with your tiler.
Why use floor tiles on the wall?
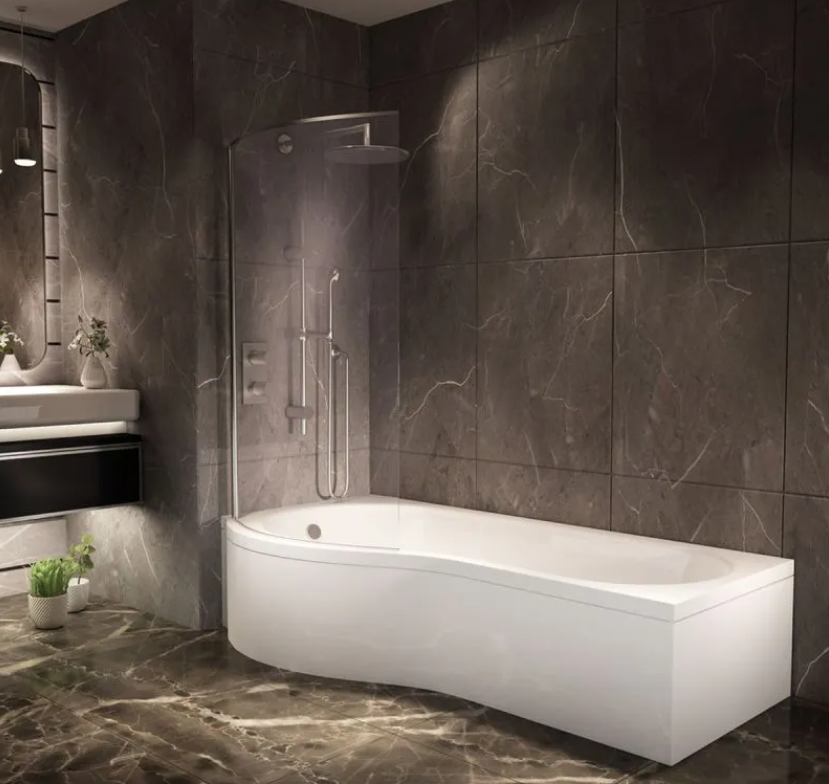
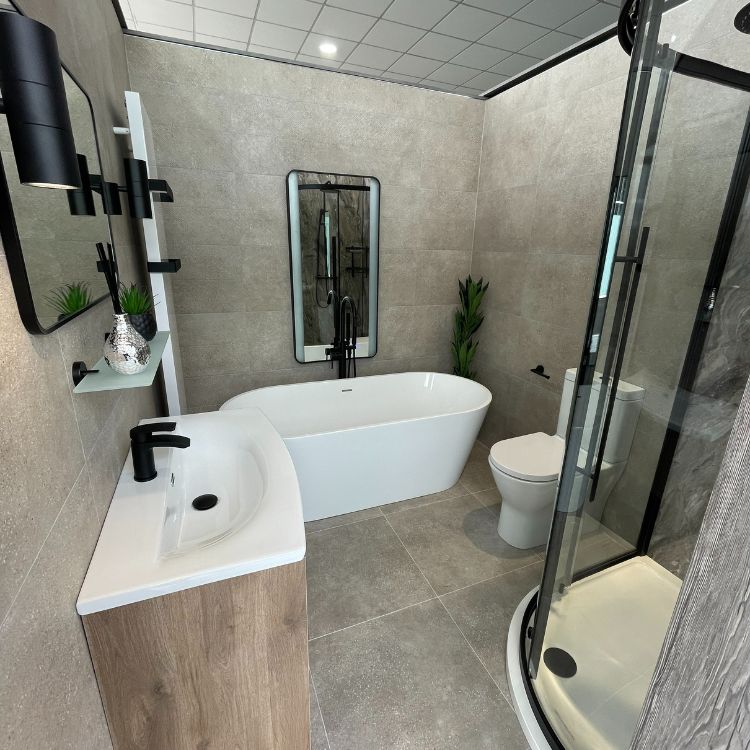
When used on the wall and the floor together, floor tiles will create a seamless, uncluttered look and make your bathroom feel more spacious. If you like a minimalist design, we recommend using the exact same tile on the floor and the wall. This is a fantastic technique that brings a feeling of tranquilly into your space while creating a modern aesthetic.
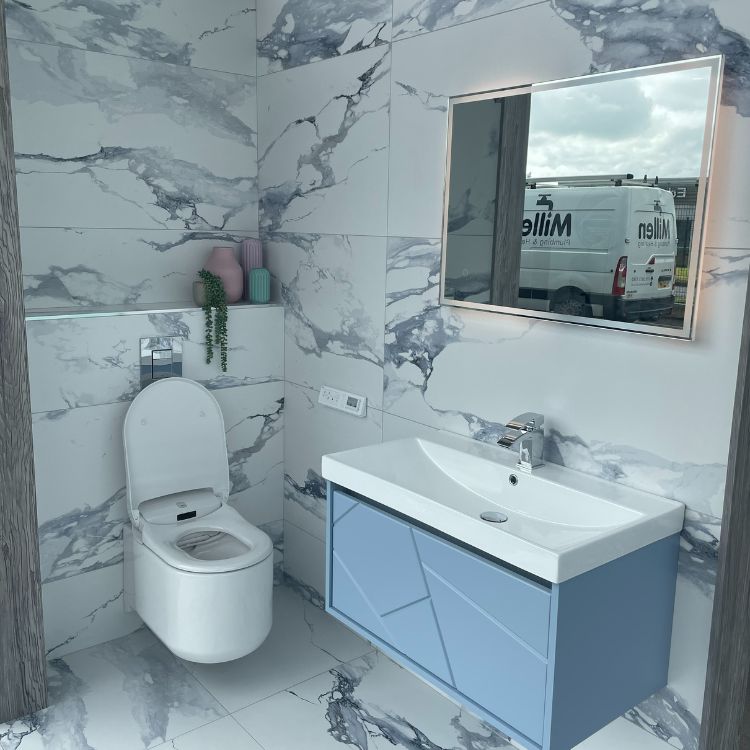
Using large-format floor tiles on the wall is a very popular trend right now. This is a sophisticated look suitable for bathrooms of any size, creating the illusion of more space. Achieve the look with our Carrara Blanco tile. With a gloss finish, this tile will make the space feel brighter and airier when used on the wall. It looks just like marble, so it will also make the room look warm and luxurious. Alternatively, the thinner grout lines of a rectified tile will make your walls look longer and wider. Our Obra range of rectified floor tiles come in two different shades of grey, which is perfect for a contemporary space.
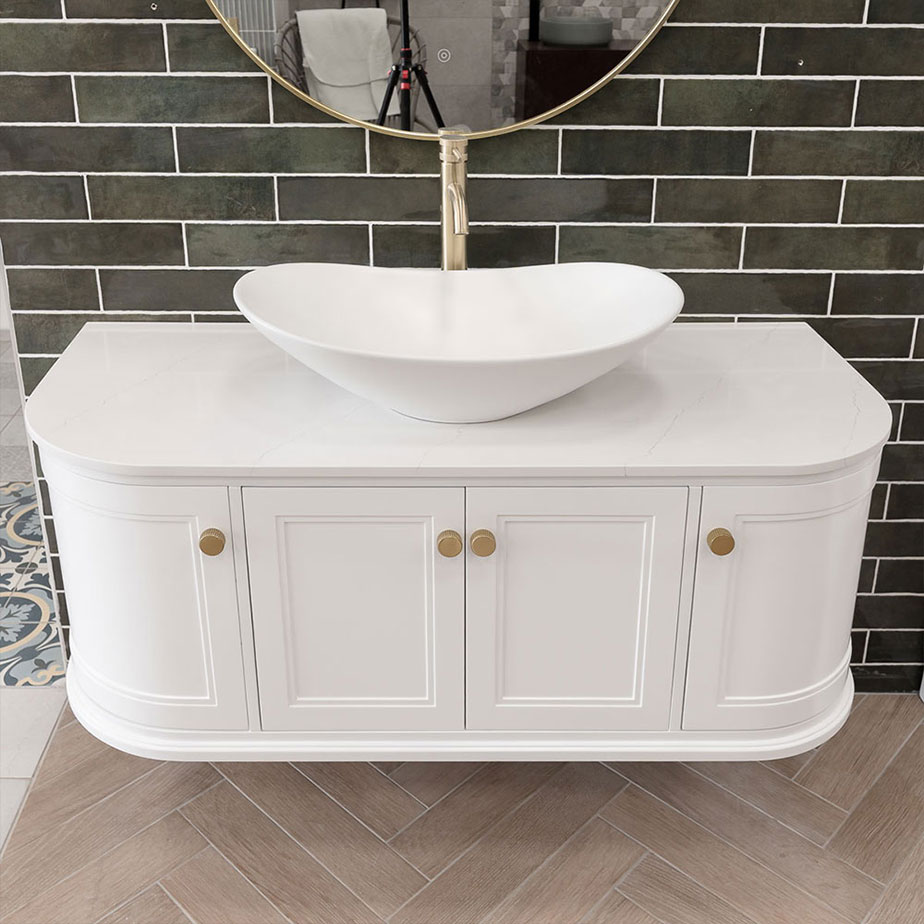
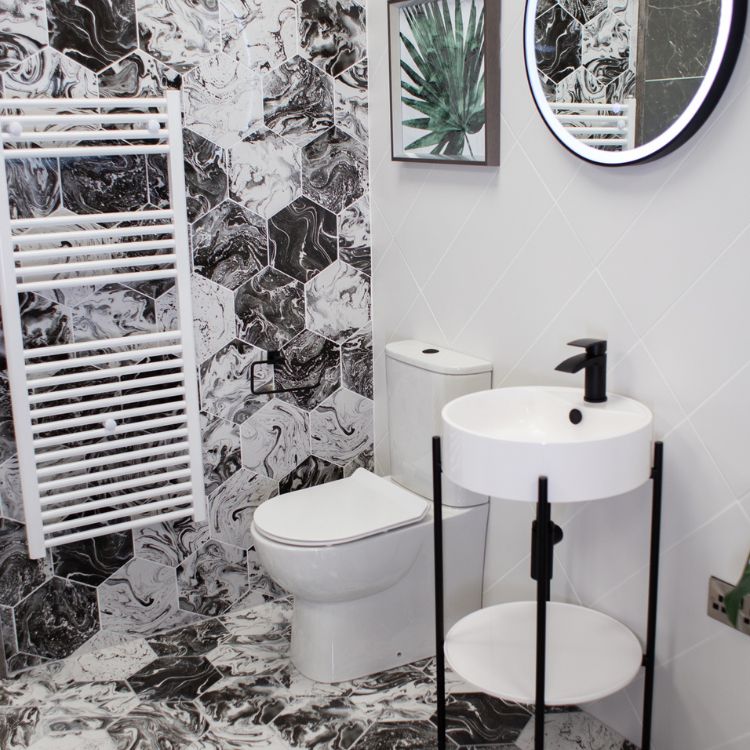
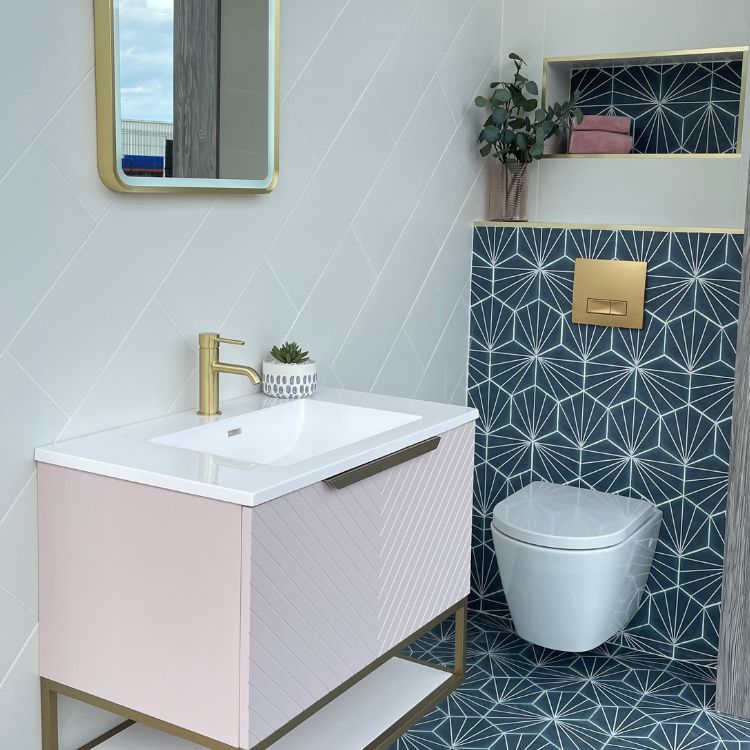
You could also use an accent floor tile for a feature wall, then continue it onto the floor for a uniform finish. The colour and pattern combo of our Palm Striped Hex Tile is perfect for this look (pictured). The blue will add bold a splash of colour to rejuvenate your bathroom, while the timeless geometric design will fit perfectly into a contemporary or traditional setting. Just make sure you contrast it against a plain tile to make it stand out and prevent overpowering the space. If you prefer a neutral colour palette, we recommend using a wood effect floor tile as your accent tile. Our Chevron range is available in grey or brown and features an eye-catching pattern that makes it an elegant feature tile.
How do I adhere floor tiles to the wall?
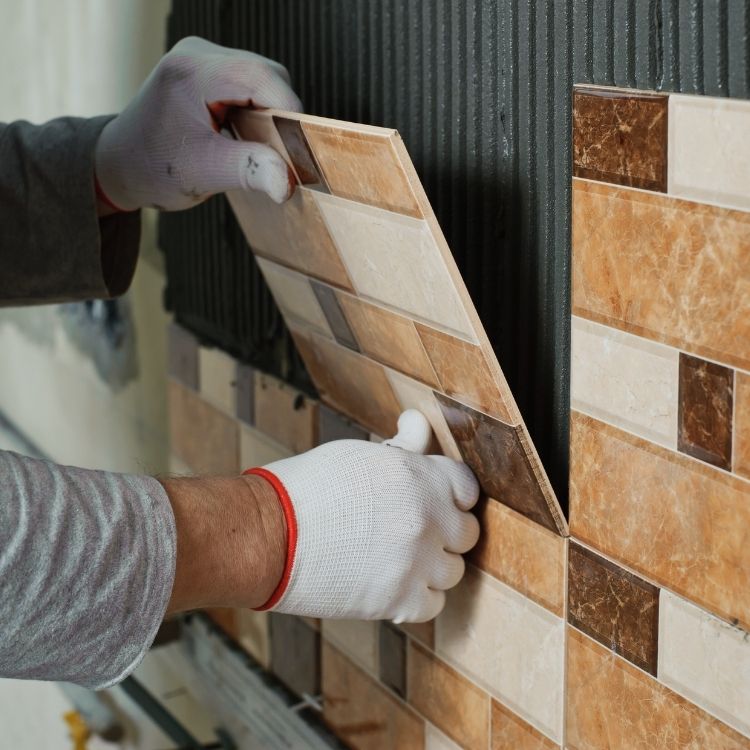
As porcelain floor tiles are heavier, we recommend getting someone to help you with your tiling job. We also advise talking to a professional tiler before you begin.
Before you start tiling, remove all wall dressings, items like light switch covers, and other obstacles. You must also check that the wall is clean, dry, and structurally sound. If you are using backerboard, make sure it has been correctly secured.
Plan your tile layout
First, you'll need to figure out how many tiles you need per row. This is achieved with a timber batten (2x1 is fine), tile spacers, a pencil, and a measuring square:
- Lay out a row of tiles with tile spacers between them. Place the batten alongside them, lining up the end of the batten with the edge of the first tile.
- Mark the positions of the tiles and gaps on the batten with a pencil and the square. Do this for the full length of the batten.
You also need to make sure that your tiles will be laid in straight lines as you go to avoid crooked rows. To do this, secure the batten to the surface being tiled to act as a guide. Line it up against the wall, use a spirit level to check that it’s straight, and then fix it to the wall using screws. Make sure not to put the screws too far into the wall.
Tiling
- Starting with the corner of the timber batten, take some tile adhesive with a trowel and apply a decent, even layer to the wall by pressing it into the surface. Evenly spread the adhesive along the wall using a notched trowel, starting from the corner inwards.
- Starting with the corner again, press and twist the tiles firmly into the adhesive, one row at a time. Wipe off any adhesive from the tiles with a damp sponge as you go.
- Place tile spacers into the corners between the tiles to achieve uniform size joints (the gaps between the tiles) and adjust the tile positions if needed.
- Once the adhesive has fully dried and cured (24-48 hours), you’re all set to get grouting! To get everything you need for this important step, click here.
Grouting
- Remove the tile spacers and check that your tile joints are free from excess adhesive.
- Use a grout float to work the grout into the joints. Wait for it to partially set (about 20-30 minutes) and wipe any excess off the tiles with a sponge soaked in water.
Sealing
- Sealing will prevent water from getting behind the tile which can cause damage to your wall.
- Hold the tip of the sealant cartridge at a 45° angle and apply sealant into the joints by squeezing an even, consistent amount from one end to the other.
- Use a sealant shaper or wet finger to smooth the edges and take off any excess.
Now all that's left to do is sit back and admire your beautiful new wall!
Whether you’re looking for a bold statement, an effective way to tie your room together, or the feeling of more space, using floor tiles on the wall will do the job! As floor tiles are thicker and heavier, you must also ensure that your wall can take the weight of your chosen tile. To find the right tile for your space, visit one of our showrooms or shop the full range online here.
