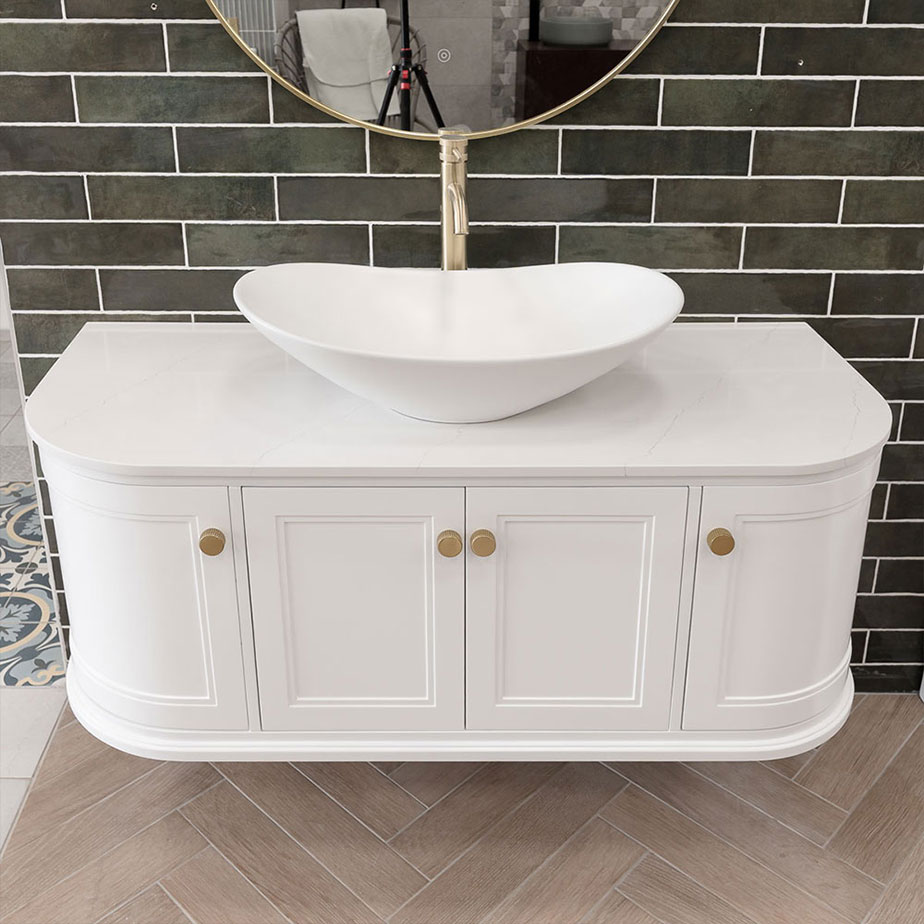
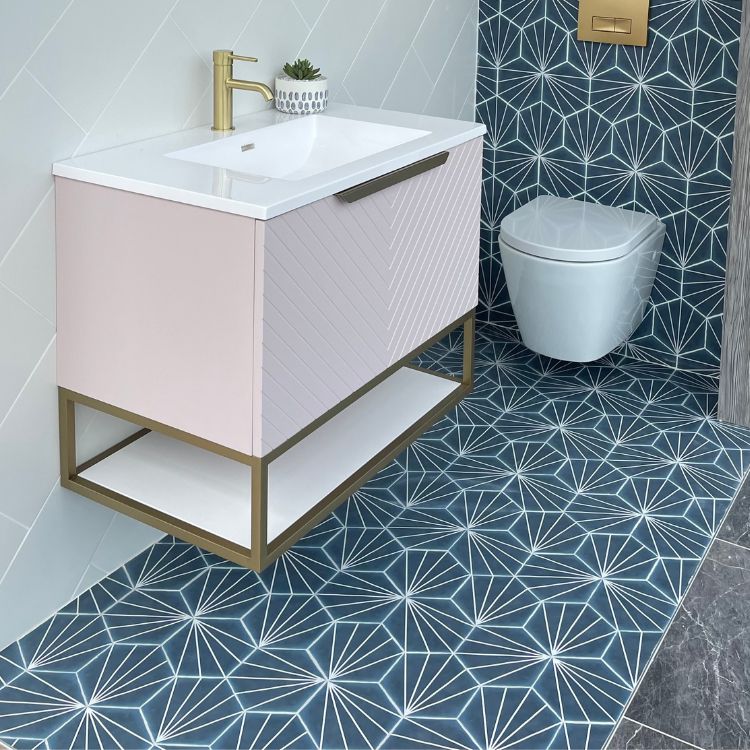
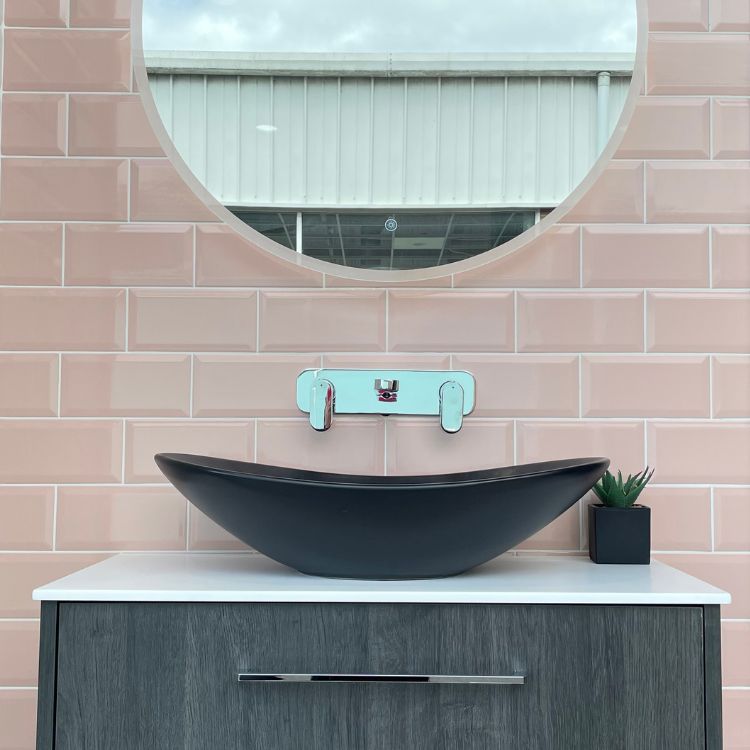
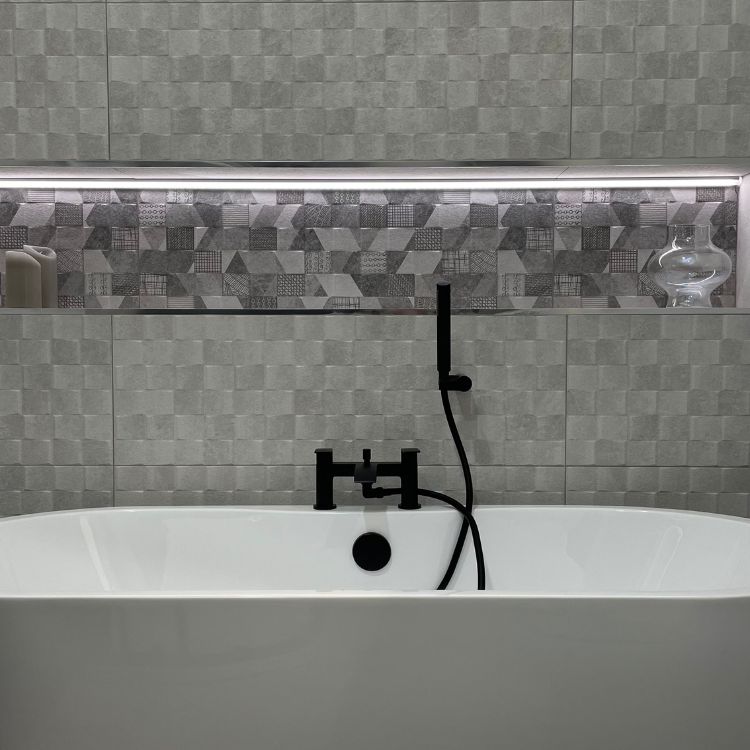
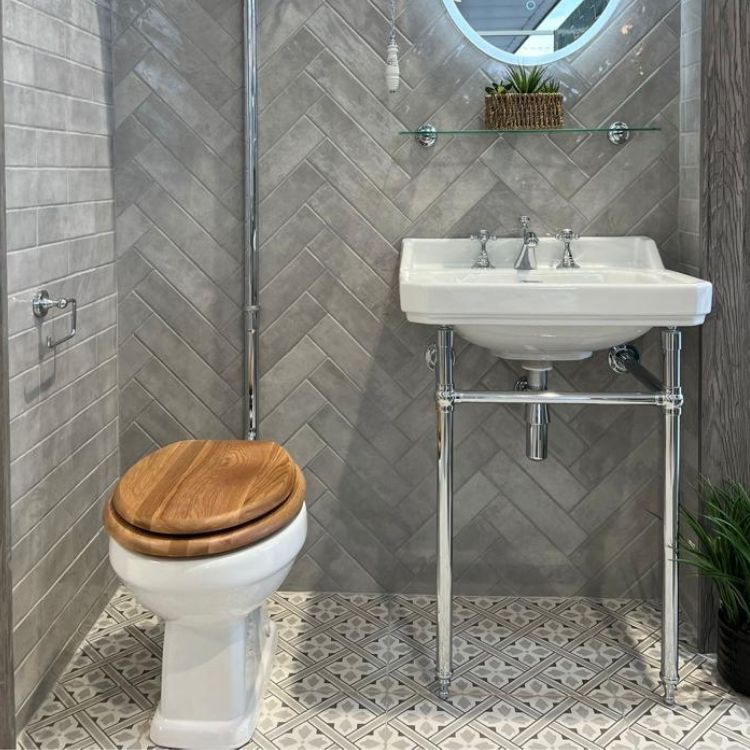
Should I Tile My Walls or Floor First?
Walls of floor first? This is the great debate when it comes to tiling an entire room. When planning a tiling job, it is important to know which tiles go on first as this will help you plan your bathroom renovation workflow. While you can start with either the floor or wall, there are pros and cons of each that you will need to take into consideration. We also recommend that you speak to a professional tiler before you begin.
Tiling the floor first
There are a few good reasons why you should tile your floor first. As a general rule of tile installation, the tiled wall should look like it is sitting or ‘hanging’ on the tiled floor. The easiest way to achieve this look is to tile your floor first. If you need to cut your floor tiles where they meet the wall, tiling the wall afterwards can also hide these cuts for a cleaner look overall.
However, floor tile adhesive is not safe for standing on until it's set perfectly, so you will need to wait up to 72 hours to start tiling the wall. If you start with the walls and finish with the floor, you will be able to use your bathroom or kitchen again sooner rather than later.
However, some professional tilers are against tiling the floor first as tile, adhesive and grout can fall onto your newly tiled floor, causing damage. This can cost you extra time and money if you need to repair or replace damaged floor tiles. If you do tile the floor first, protect it by laying cloth or newspaper down before you start tiling the wall.
Tiling the Walls First
While tiling the walls first will keep your floor tiles clean and free from damage, this can be a more difficult and technical job if you are doing the tiling yourself. This is because it takes more care and precision to make it look like the wall tiles are hanging over the floor.
When tiling a wall first, professionals will use a ledger board to leave a space for the floor tile. When they get to tiling the floor, they install the tile closest to the wall first before laying the rest. This is an effective way to achieve that wall overhang effect when tiling the walls first. However, floor and wall tiles near corners and walls must be precisely cut for a perfect, finished look and to prevent water from seeping into the butt joint (where your wall and floor tiles meet). This requires a lot of care.
If you’d rather not try the above method, another good option is to tile the walls apart from the bottom row, tile the floor, and then tile the bottom row on the walls.
Make the right choice for you
In the end, whether you tile your walls or floor first is down to you and your preferences. If you’re working on it yourself and have more time to spare, then tile the floor first as this makes tiling the walls easier. Just bear in mind that you must wait for the adhesive to dry before you begin working on the walls.
If you’re worried about damaging your new floor tiles, then tile the walls first – make sure to be precise and cautious, or seek the help of a professional.
Tiling: where to begin?
First, make sure the surface is clean, dry, and free from debris and obstacles. Then use our handy Tile Calculator to figure out how many tiles you need (make sure to include an extra 10& for wastage).
You also need to figure out how many tiles you need per row. Do this using a 2x1 timber batten, tile spacers, a pencil and a measuring square:
1 .Lay out a row of tiles with tile spacers between them. Place the batten alongside them, lining up the end of the batten with the edge of the first tile.
2 . Mark the positions of the tiles and gaps on the batten with a pencil and the square. Do this for the full length of the batten.
You also need to make sure that your tiles will be laid in straight lines as you go to avoid crooked rows. To do this, secure the batten to the surface being tiled to act as a guide. Line it up against the wall, use a spirit level to check that it’s straight, and then fix it to the wall using screws. Make sure not to hammer the nails in too far.
The walls
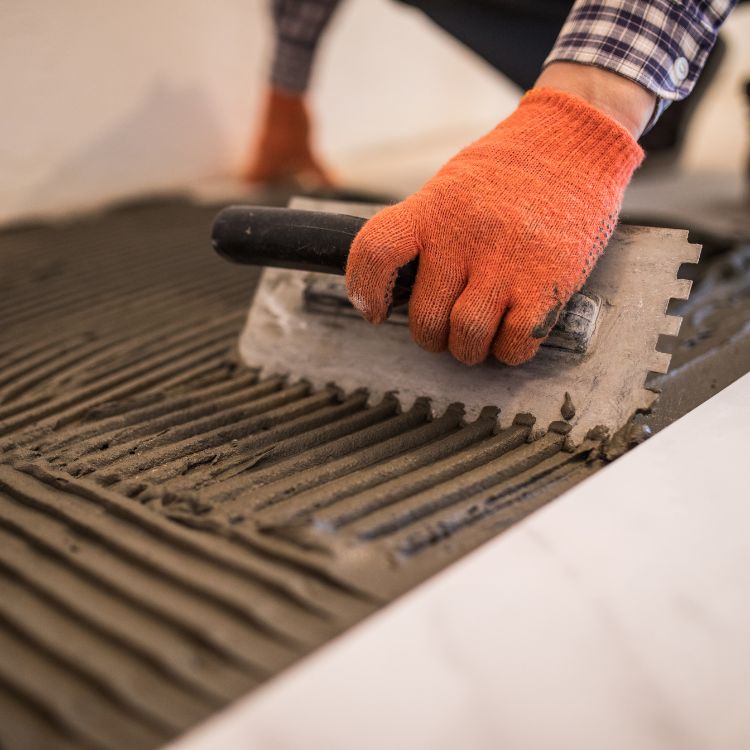
1. Starting with the corner of the batten, take some tile adhesive with a trowel and apply a decent, even layer to the wall by pressing it into the surface. Evenly spread it along the wall with a notched trowel, starting from the corner inwards.
2. Starting with the corner again, press and twist the tiles firmly into the adhesive, one row at a time. Wipe off any adhesive from the tiles with a damp sponge as you go.
3. Place tile spacers into the corners between the tiles to achieve uniform size joints and adjust the tile positions if needed.
Once the adhesive has fully dried and cured (24-48 hours), you’re all set to get grouting!
Grouting wall tiles
Remove the tile spacers and check that the tile joints are free from excess adhesive. Using a grout float, work the grout into the joints. Wait for it to partially set (about 20-30 minutes), and wipe any excess off the tiles with a sponge soaked in water. If you feel it's going to take longer than 30 minutes to grout all the tiles, you might want to work in smaller sections.
Sealing
Sealing prevents water from getting behind the tiles around worktops, sinks and baths.
Hold the tip of the sealant cartridge at a 45° angle and apply it into the joints by squeezing and working from one end to the other. Make sure to maintain an even, consistent amount of sealant. Using a sealant shaper or wet finger, smooth the edges and take off any excess. Creating a clean edge prevents your sealant from feathering, which lets water in. Leave to dry for 24 hours per 4mm of thickness.
The Floor
The steps for tiling the floor are practically the same as tiling the wall; just take extra care to keep the tiling level. Use a notched trowel to maintain an even layer of adhesive. As you go, check the tiles are flat with a spirit level. If needed, level them by tapping with a rubber mallet.
Work 1 m² at a time to prevent the adhesive from drying before you lay the tiles.
Grouting & sealing
Grout your tiles in the same way as wall tiles. Once finished, avoid walking on the floor and leave the grout to set.
Sealing your floor tiles can help allow for movement or expansion between the wall and the floor and protect your grout from dirt, spills and erosion. Apply a continuous bead of sealant, working from one end of the skirting to the other. Avoid walking on the floor for 24 hours after grouting and sealing.
Ready to get tiling? Shop our full range of wall tiles, floor tiles and tiling accessories today and transform your kitchen or bathroom for less! If you need further advice on tiling or choosing the right tiles for your space, don’t hesitate to Contact Us or book a consultation for one of our showrooms on the island of Ireland. Our amazing team will be happy to help you!